In Mockedule, you create projects inside a workspace and put several boards inside each project. Tasks and schedules are kept per project.
Workspace home
The workspace home is the list of projects. When you open app.mockedule.com, the home of a workspace you belong to opens. If you belong to several, switch with the ▼ next to the workspace name in the header.
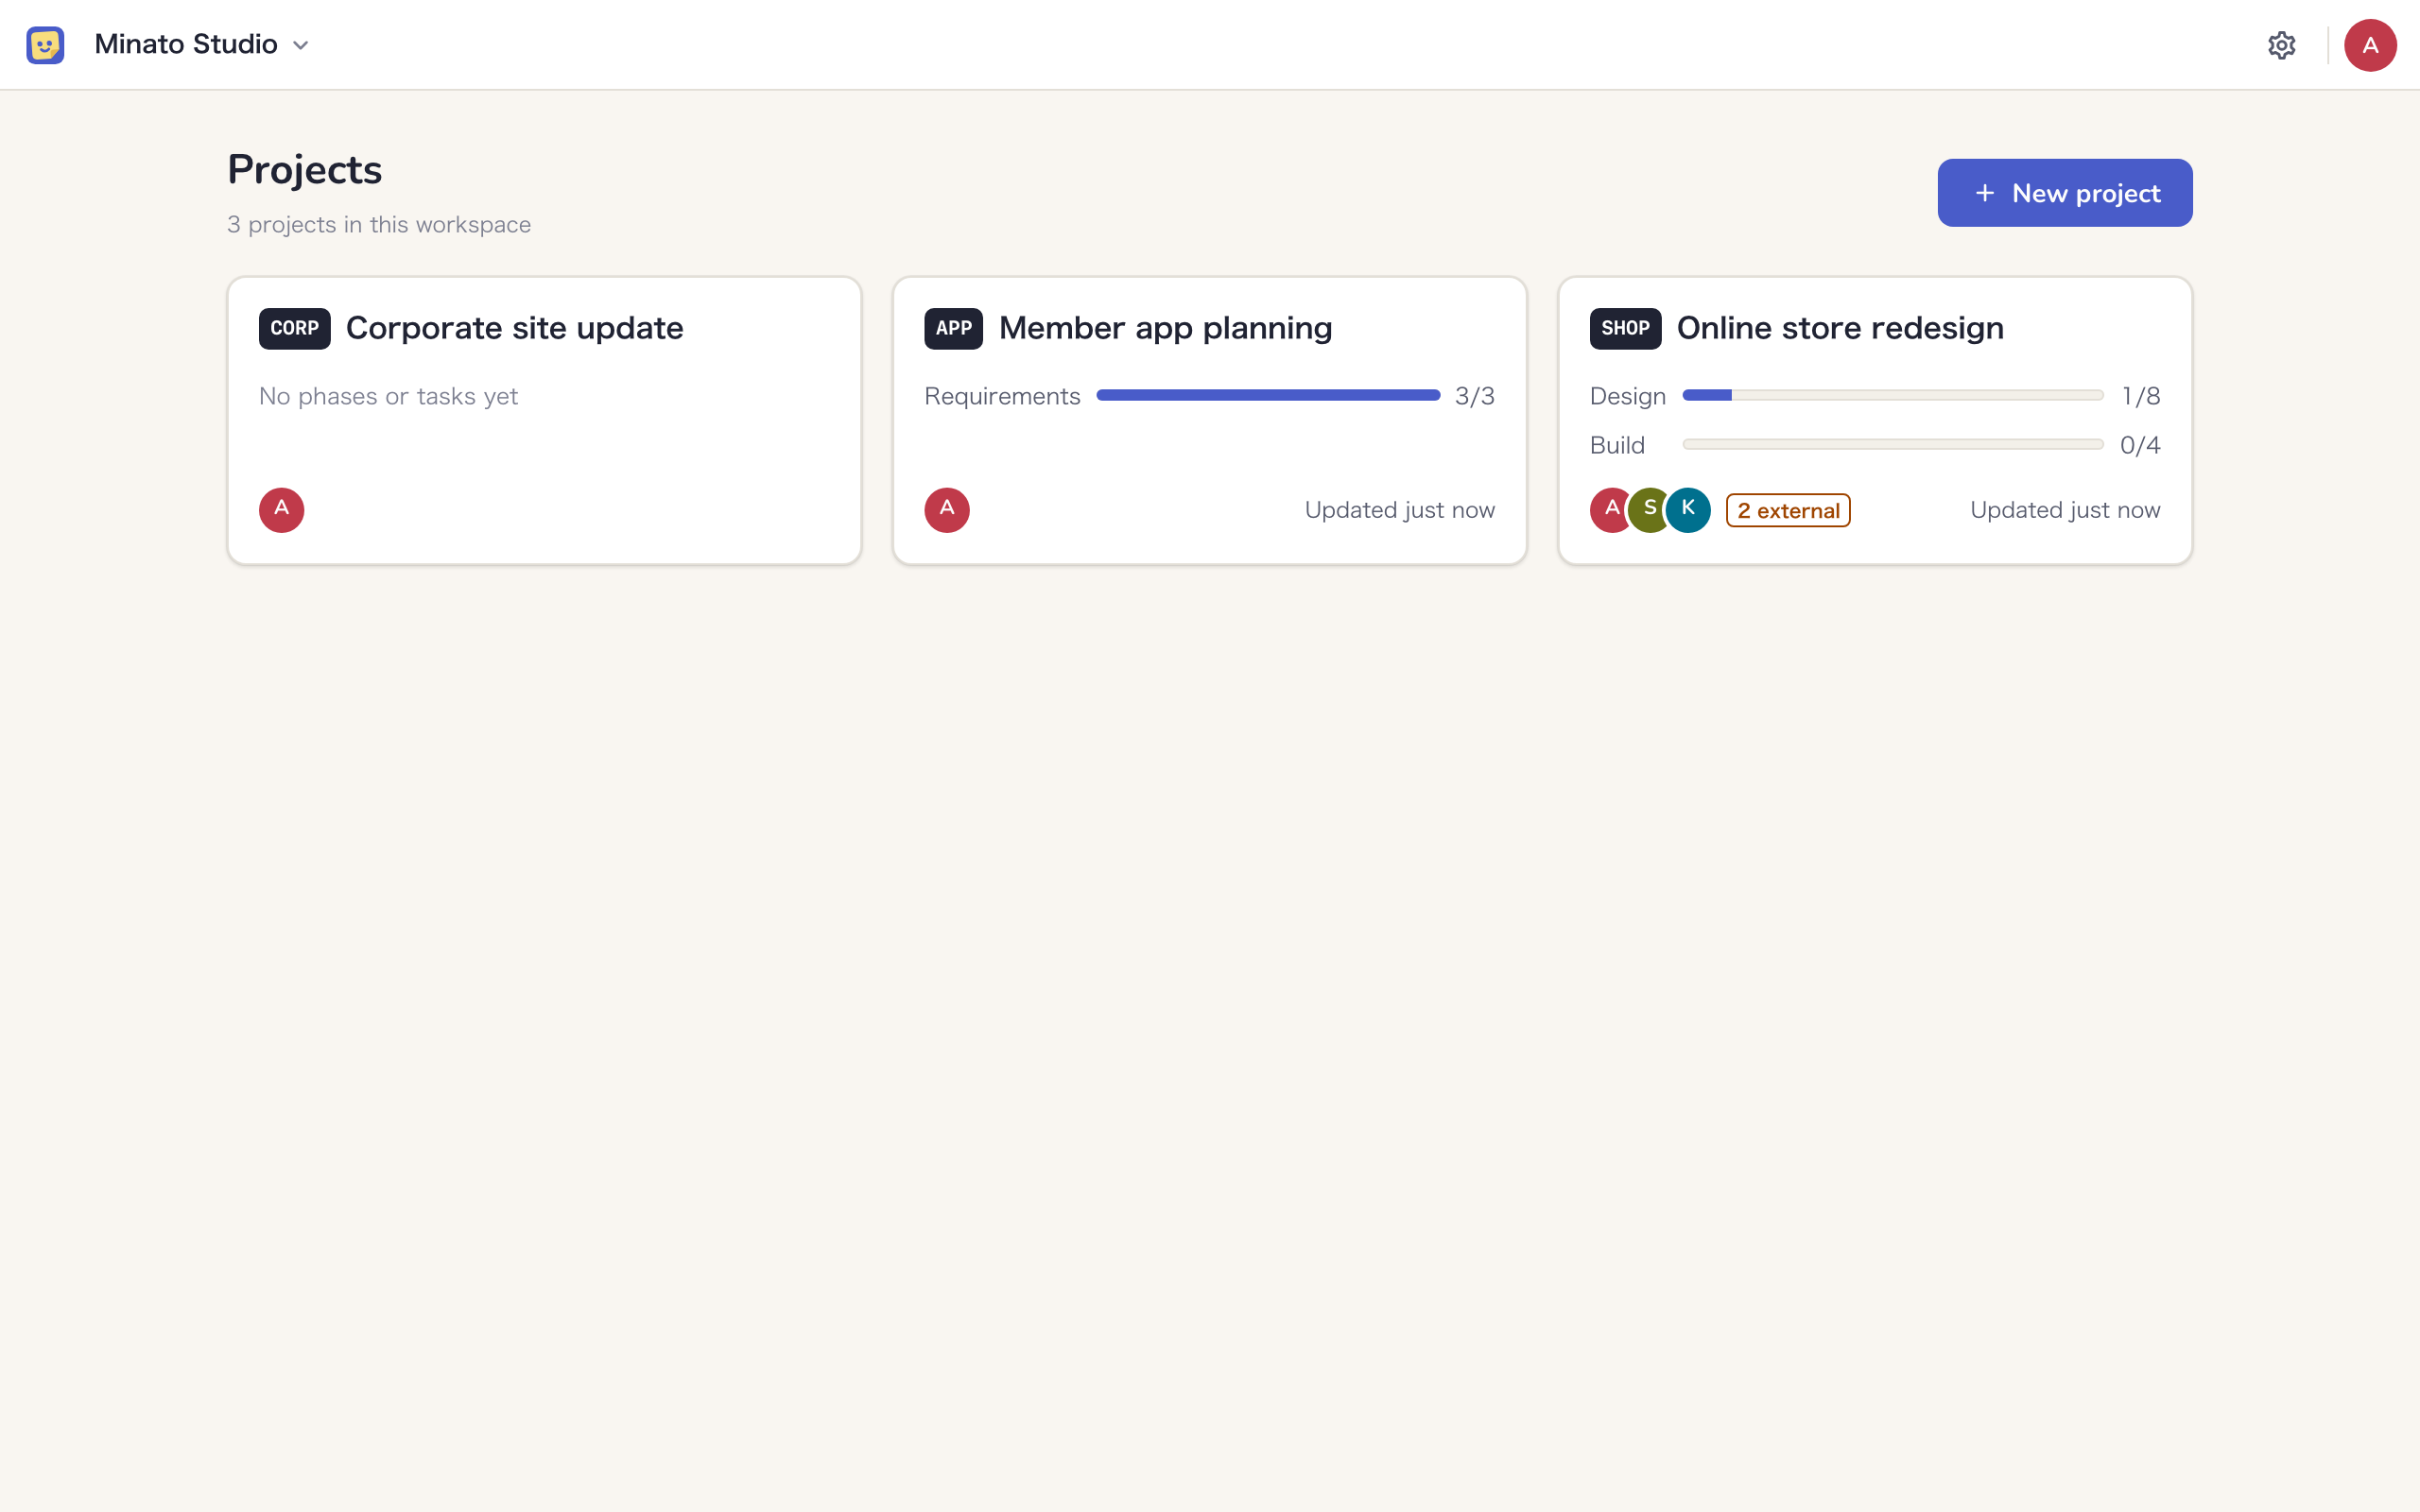
Owners and Admins see every project in the workspace; Members see the projects they have joined. Each card shows:
- The task key prefix (such as “SHOP”) and the project name
- A progress bar per phase, with done and total task counts. Tasks without a phase are grouped under “No phase”
- The avatars of internal members in the project and the number of external participants
- When it was last updated (such as “Updated 12 minutes ago”)
For a project you joined with an external role, the card shows a short note instead of progress. Open the project to see how it is going. External participants who belong to no workspace do not see a workspace home; their project opens directly, or they pick one from a list if they have joined several.
Create a project
- On the workspace home, click “New project”
- Enter the project name under “Name”
- Under “Key prefix”, enter the first part of task keys (such as PG-12). Use 2–10 letters and numbers, starting with an uppercase letter
- Click “Create”. The project’s board opens
Any internal member of the workspace can create a project, and the creator becomes its Manager. The key prefix must be unique in the workspace and cannot be changed after creation, because keys appear in GitHub branch names and links.
The Free plan allows 1 active project. When you reach the limit, a note appears under the form, and the Owner sees “Open billing”. See Plans and billing for details.
Open a project
On the workspace home, click a project card to open the project’s default board. A project has three tabs in the header: “Board”, “Timeline” and “Shared page”. Use the ▼ next to the project name to move to another project. See Getting started for a tour of the header.
On the left of the board page is the list of the project’s boards. Internal-only boards have a lock icon, and boards with a view link have a link icon. Click “Hide the board list” at the top of the list to give the canvas more room, and “Show the board list” at the top left of the canvas to bring it back. Your browser remembers which you chose.
The default board
Creating a project also creates one default board named “Board”. The AI connected via MCP puts tasks there, so it stays visible to everyone in the project. You can rename it, but you cannot make it internal only or archive it.
Manage boards
Managers and Members can create, rename, change the visibility of, archive and restore boards. Only Managers can delete an archived board. Workspace Owners and Admins can do everything a Manager can in every project. External participants do not see the “+” and “…” buttons in the board list.
Create a board
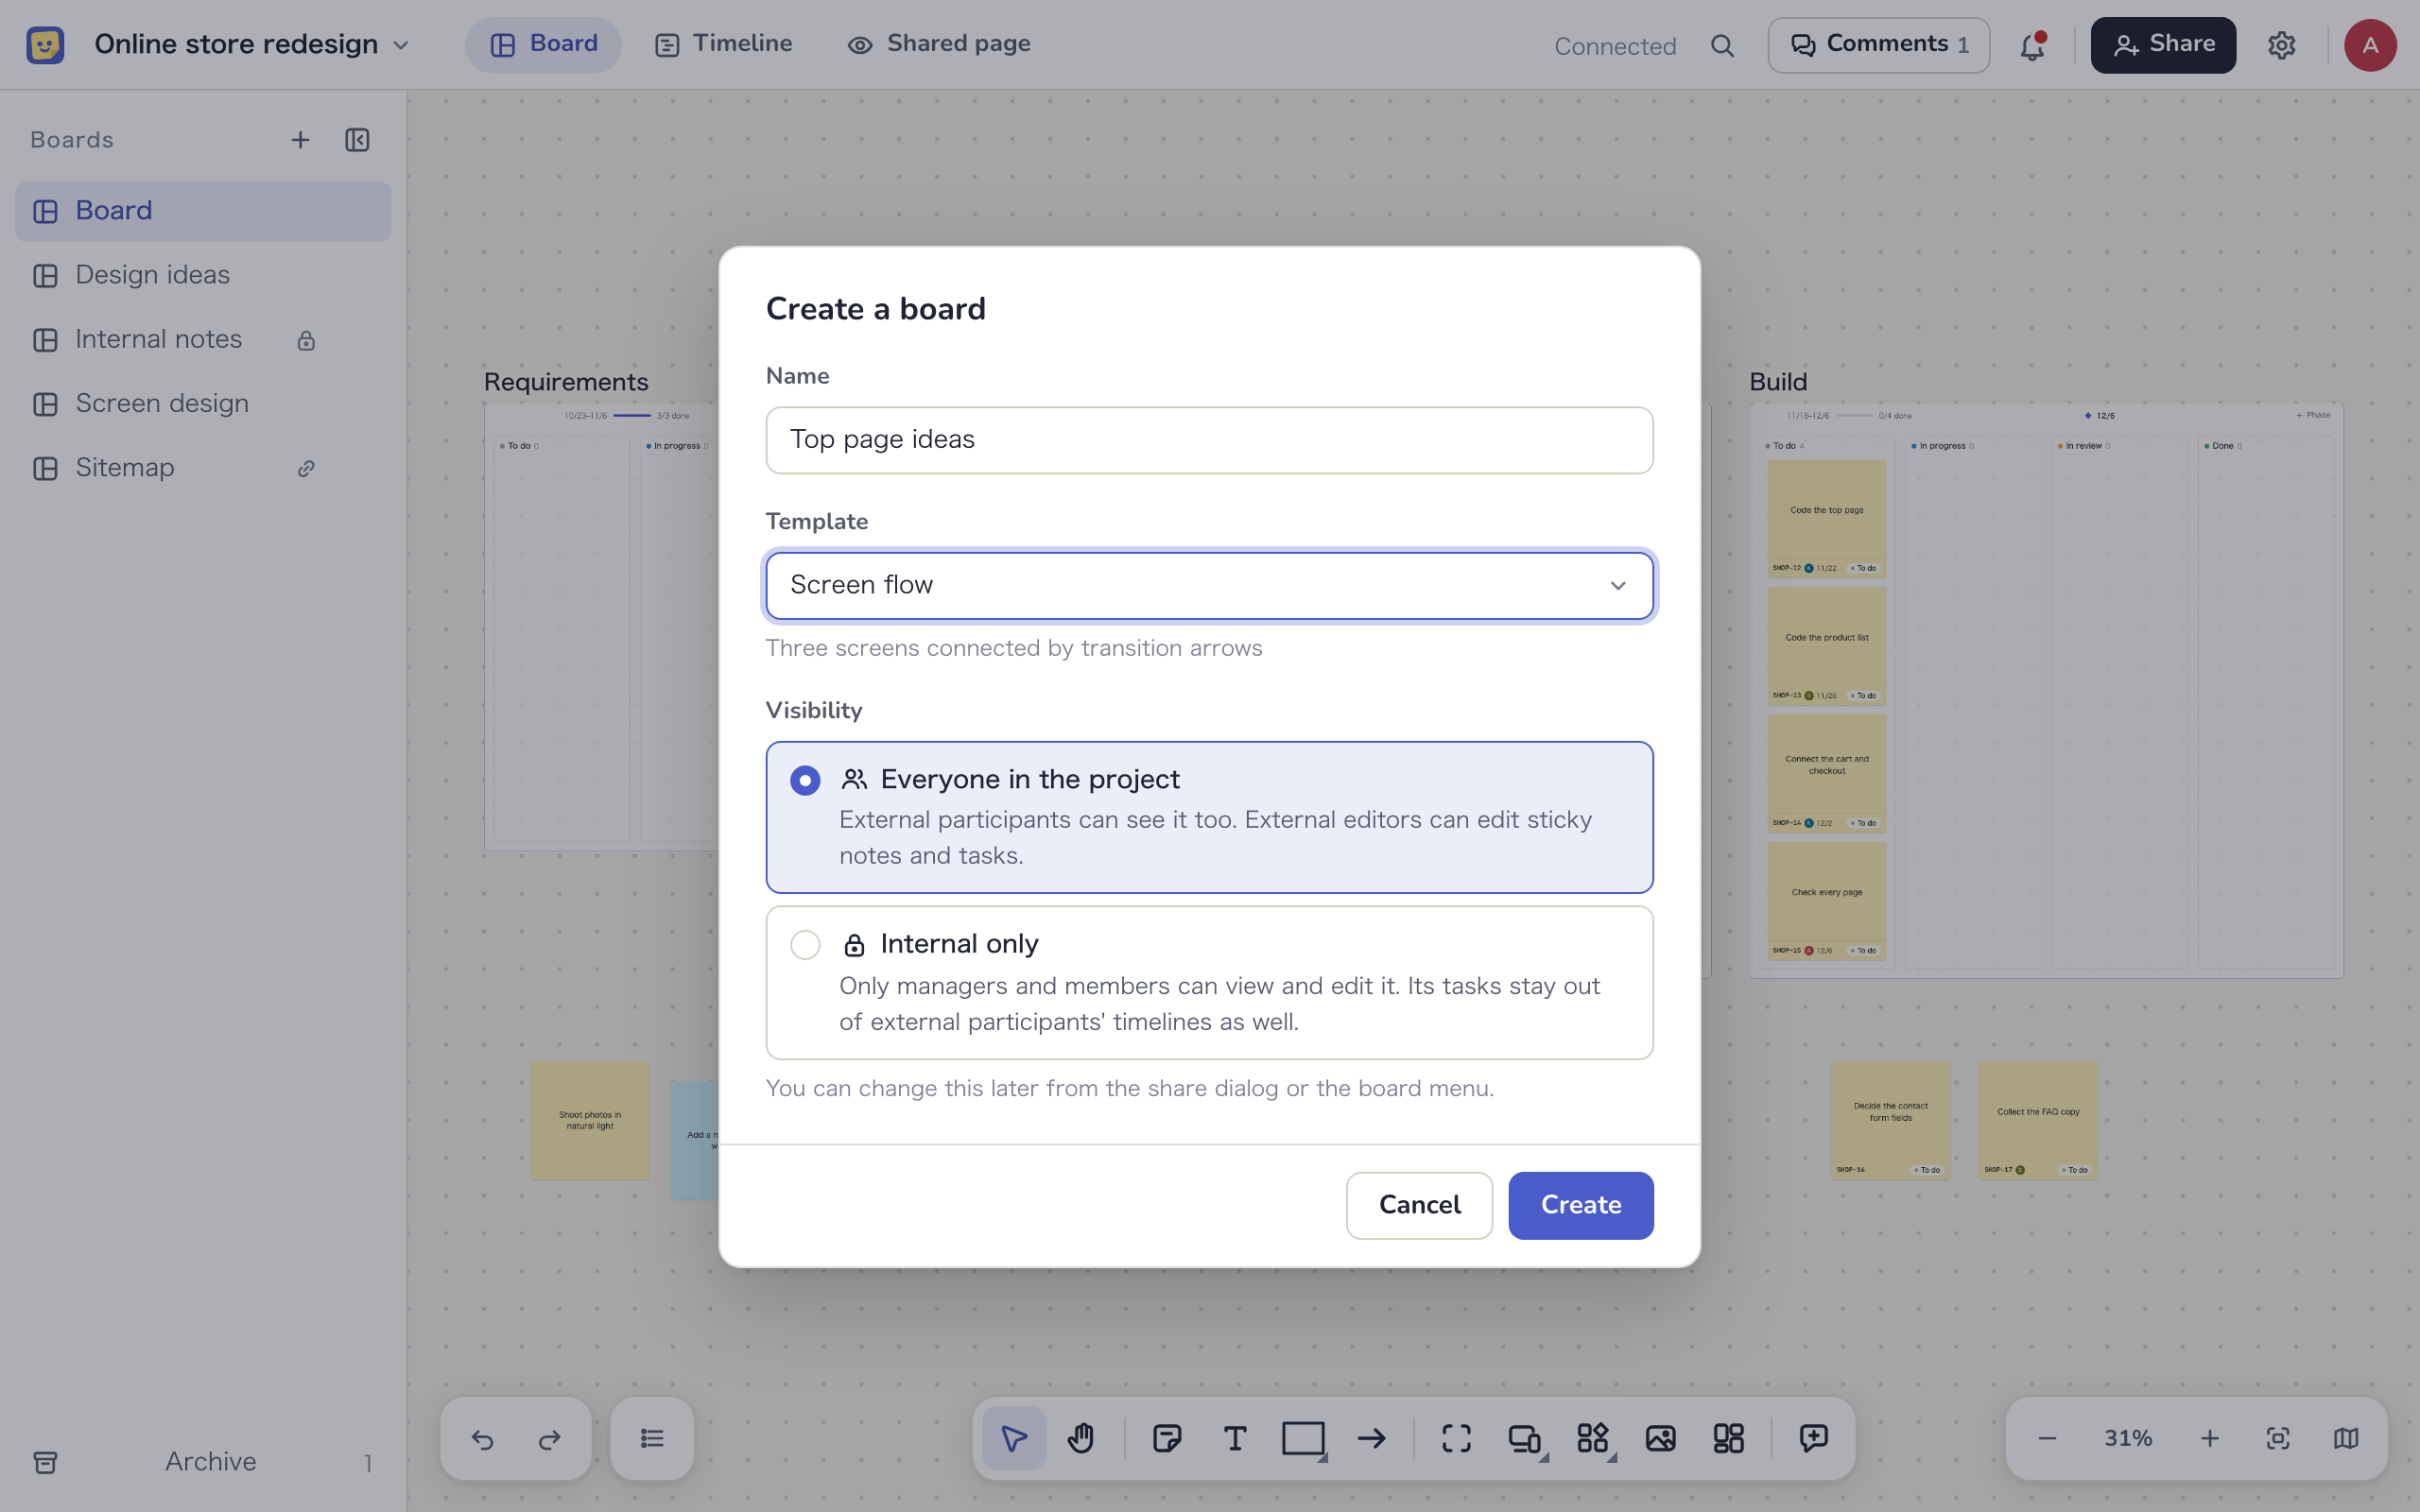
- Click “+” (“Create a board”) at the top of the board list
- Enter a name under “Name”
- To start with frames and headings, pick a template under “Template”. The default is “Blank board”
- Under “Visibility”, choose “Everyone in the project” or “Internal only”
- Click “Create”. The new board opens
External participants can see boards set to “Everyone in the project”, and External editors can edit their sticky notes and tasks. “Internal only” boards can be viewed and edited by Managers and Members only, and their tasks stay out of external participants’ timelines. You can change the visibility later.
Rename a board
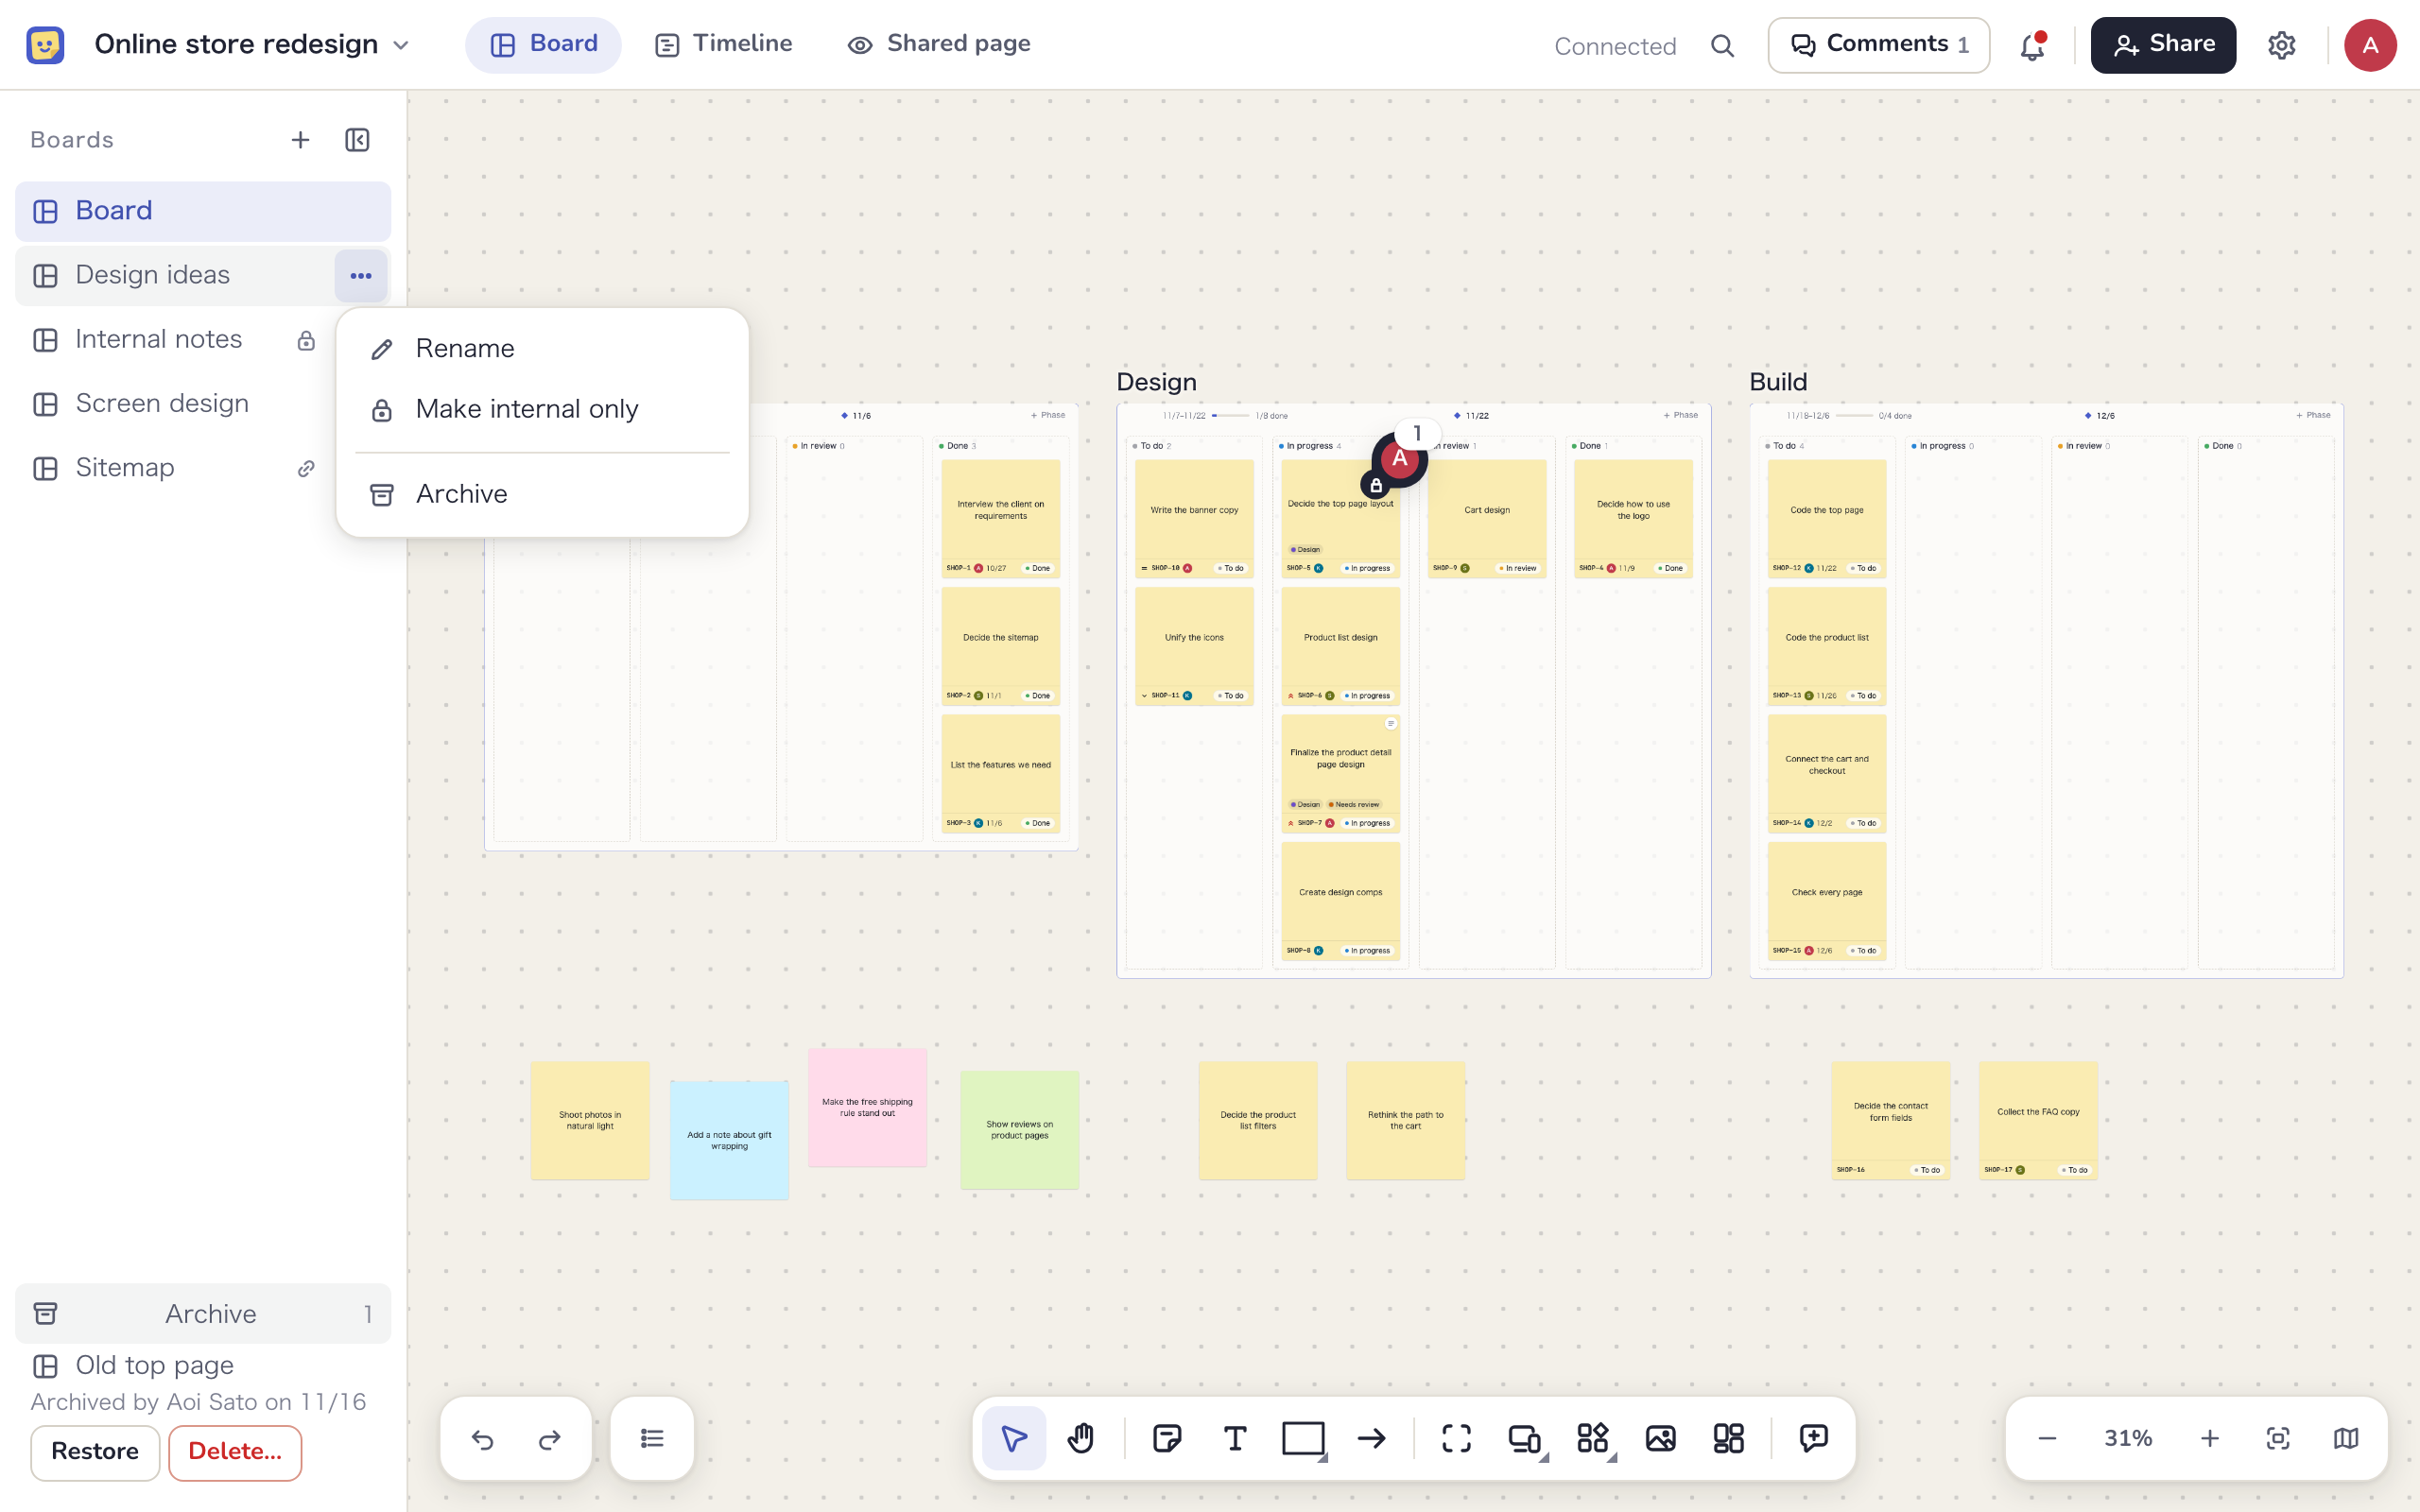
- Click “…” on the board’s row in the list and choose “Rename”
- The row turns into a field. Type the new name and press Enter, or click outside the field. Press Esc to cancel
Change visibility
From “…”, choose “Make internal only” or “Show to everyone in the project”. If the project has external participants, a dialog names who will lose or gain access and how many tasks are affected, so you can check before you confirm. Making a board internal only turns off its view link, and showing it to everyone again does not bring the link back. You can also change visibility in the “Share” dialog. See Roles and visibility for how visibility works.
Archive a board
When you are done with a board, choose “Archive” from “…”. The board leaves the list and moves into “Archive” at the bottom. Anyone who opens an archived board can view it but not edit it, and its tasks no longer appear on the timeline or in the list.
Restore a board
Click “Archive” below the list to open it, then click “Restore” on the board. You can also click “Restore” on the banner shown at the top of an archived board. A restored board can be edited as before, and its tasks return to the timeline.
Delete a board
Only archived boards can be deleted. Click “Delete…” on a board in “Archive”, then click “Delete” in the confirmation dialog.
Deleting removes all sticky notes, other objects and tasks on the board, and cannot be undone. The tasks also disappear from the timeline and list, and their keys are never reused. To keep the board, leave it archived.
Templates
A template adds a ready-made set of frames, headings and guide sticky notes to a board. Anyone who can edit the board can add one from three places:
- When creating a board: pick one under “Template” in the “Create a board” dialog
- On an empty board: open a board with nothing on it and “Start from a template” appears in the middle of the canvas with the list of templates. Click one to add it, or click “Start with a blank board”
- Later: click “Templates” on the toolbar at the bottom. The template goes in the free space to the right of what is on the board
| Template | What it adds |
|---|---|
| Sitemap | Lays out the page structure as a tree |
| Screen flow | Three screens connected by transition arrows |
| Kickoff | Frames for “Goals”, “Team”, “How we work” and “To decide” |
| Requirements | A “Requests” frame, plus “Must have”, “Nice to have” and “Not this time” frames |
| Production plan | Four phases, “Requirements”, “Design”, “Build” and “Test”, each with status columns |
| Meeting notes | Frames for “Agenda”, “Decisions” and “Action items” |
| Retrospective | Frames for “Keep”, “Problem” and “Try” |
- Templates do not create tasks. The guide sticky notes are light gray; rewrite or delete them as you go
- The phases in “Production plan” run two weeks each, starting the day you add it. The dates are placeholders, so adjust them on the timeline. Only people who can create phases can add this template
- Click “Undo” right after adding a template to remove everything it added in one step
- External viewers and Clients do not see the template prompt or button